lejarretnoir
JP Poulin
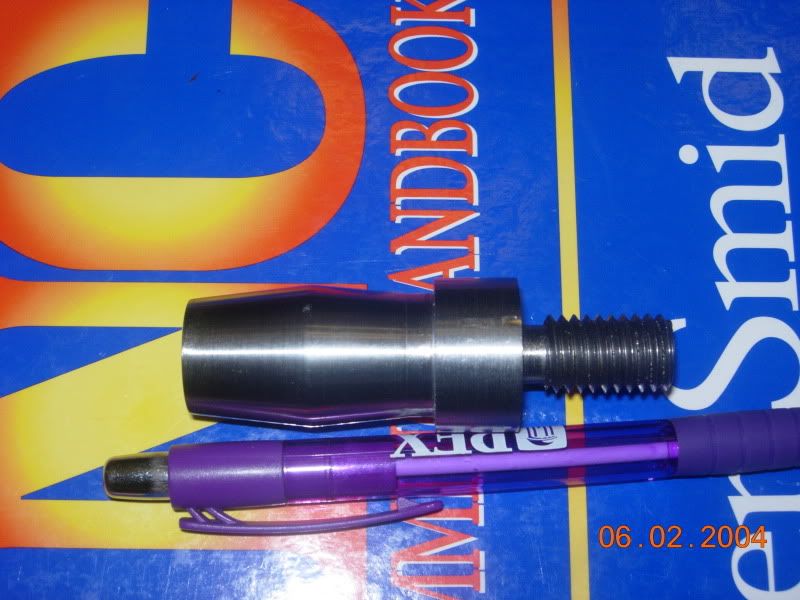
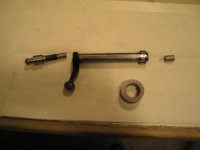
I built myself or should I say copied a design with mandrel and spider. The only problem with getting it right is that the mandrel end needs some kind of way to pivot the bolt otherwise it cannot be made to dial it in right.
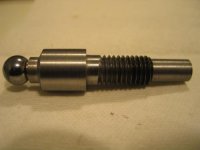
Mr. Bryant uses a "threaded ball" type. Can someone explain how I could make that or add something else to my existing mandrel?
Will the live center end bolt spider remain stable after? Seems wobbly during my first attempt at setting up.

Mr. Bryant uses a "threaded ball" type. Can someone explain how I could make that or add something else to my existing mandrel?
Will the live center end bolt spider remain stable after? Seems wobbly during my first attempt at setting up.
Last edited: