
You are using an out of date browser. It may not display this or other websites correctly.
You should upgrade or use an alternative browser.
You should upgrade or use an alternative browser.
Easiest way to true bolt face?
- Thread starter Mram10
- Start date
JerrySharrett
Senile Member
Don’t want to spend $80 a piece for specialized tools to true bolt face on my rem 700s. Is there a specific cutter I can use? Can I make one on the lathe, harden it and use it with 240grit paste? Thanks
Keep in mind when you remove metal to true a boltface on an existing assembly you are also changing the headspace.
.
MilGunsmith
Member
If you want to make the fixture for holding the bolt in a lathe to do the work, I have the drawings.
jackie schmidt
New member
Don’t want to spend $80 a piece for specialized tools to true bolt face on my rem 700s. Is there a specific cutter I can use? Can I make one on the lathe, harden it and use it with 240grit paste? Thanks
The reason you would true a bolt face is to insure that it is truly square with the bolt body while removing a minimum amount of metal.This calls for single point facing.
If you have a steady rest for your Lathe, it's really simple to do.
When I get back to my shop this afternoon, I will take a picture of a simple setup and post it.
Last edited:
Lee Martin
Active member
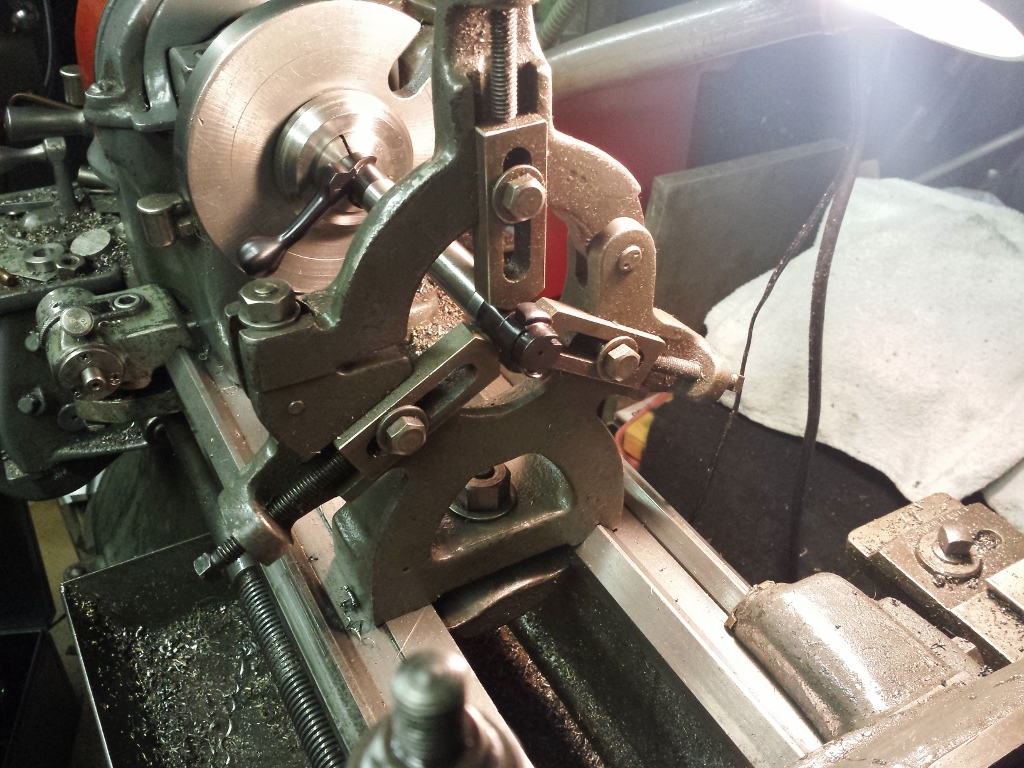
To echo Jackie's point, a steady rest and single-point bit are the best way to face bolts. Here's a somewhat related picture of how we hold bolts to grind them (opening the face for larger rims):
-Lee
www.singleactions.com
-Lee
www.singleactions.com
jackie schmidt
New member
Thanks guys. Any pics are helpful
I'm not back in town yet.
But Lee's picture pretty much shows the setup. I do screw a piece of stock with a 1/2 13tpi on the end to screw into the bolt so I have something to chuck on in a four jaw chuck.
My only question is what the cutting tool looks like. Thanks again guys.
Im not trying to be clever here and say this with respect.
If you dont know what the appropriate single point tool would look like for this job or you couldn't work out a set-up for machining then are you capable of setting up and doing this work to the level where you really have improved things?
It would be so easy to make it worse than it might already be...
Here you go anyway, single point boring/facing tool you can either buy or grind, just make sure you have enough side and face relief and a small nose radius

Last edited:
Pete Wass
Well-known member
Really????
A facing is a pretty basic machining 101. U sure you want to try this?
Pete
Thanks guys. Any pics are helpful
A facing is a pretty basic machining 101. U sure you want to try this?
Pete
Gunner223
New member
Tru bolt face and rear of recoil lugs
I like Jackie's method and do a similar process. My lathe has very little runout in the nose spindle so I make a spud that goes in a 5 C collet and thread the other end 1/2 X 13 leaving a sholder in the middle for the back end of the bolt to snug against. Put the steady rest on so that it is about 1 inch behind the lugs, giving enough room to do the back of the lugs as well as the bolt face. If necessary indicate the forward end of the bolt or if you get lucky put a center in the firing pin hole. If you need to remove the spud be sure and indicate it in before next use.
I like Jackie's method and do a similar process. My lathe has very little runout in the nose spindle so I make a spud that goes in a 5 C collet and thread the other end 1/2 X 13 leaving a sholder in the middle for the back end of the bolt to snug against. Put the steady rest on so that it is about 1 inch behind the lugs, giving enough room to do the back of the lugs as well as the bolt face. If necessary indicate the forward end of the bolt or if you get lucky put a center in the firing pin hole. If you need to remove the spud be sure and indicate it in before next use.
jackie schmidt
New member
My only question is what the cutting tool looks like. Thanks again guys.
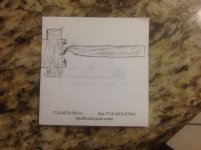
I usually true them with the extractor in place. Just grind a small tool with "hooked shaped" tip that will go behind the extractor.
http://benchrest.com/attachment.php?attachmentid=21212&stc=1&d=1531528281
By the way, when I do this, I turn the chuck by hand. No power. You are usually taking off only a few thousandths to smooth the face and get it true.
Attachments
")
I like Jackie's method and do a similar process. My lathe has very little runout in the nose spindle so I make a spud that goes in a 5 C collet and thread the other end 1/2 X 13 leaving a sholder in the middle for the back end of the bolt to snug against. Put the steady rest on so that it is about 1 inch behind the lugs, giving enough room to do the back of the lugs as well as the bolt face. If necessary indicate the forward end of the bolt or if you get lucky put a center in the firing pin hole. If you need to remove the spud be sure and indicate it in before next use.
Are you are assuming the threads in the bolt are concentric to the bolt body? My experience has shown otherwise, Jackie's method using the 4-jaw would compensate for that.
MilGunsmith
Member
I use a fixture in the 4 jaw and dial in
I use a fixture in the 4 jaw and dial in
As do I! Assuming the bolt body is concentric with the shroud threads will make a fool out of you
ab_bentley
New member

ab_bentley
New member
Are you assuming the back end of the bolt is running true with that setup?
If Big Green can't put a firing pin hole in the right location, no, the back of the bolt probably isn't true. Then again, most of their bolts aren't round or straight either. What I'm counting on is the bolt being square in battery, due to the large tolerances the rear bridge have. So long as the rear of the bolt is centered and the lugs make 100% contact with the cocking piece engaged that's the best one can hope for, which that method results in. Since I pull the handles to time the PE this method is the easiest. With that being said, I've used most methods on this thread with good results. If i can't use the method pictured, i use the mini spider and steady rest like Jim Borden has shown.