Butch Lambert
Active member
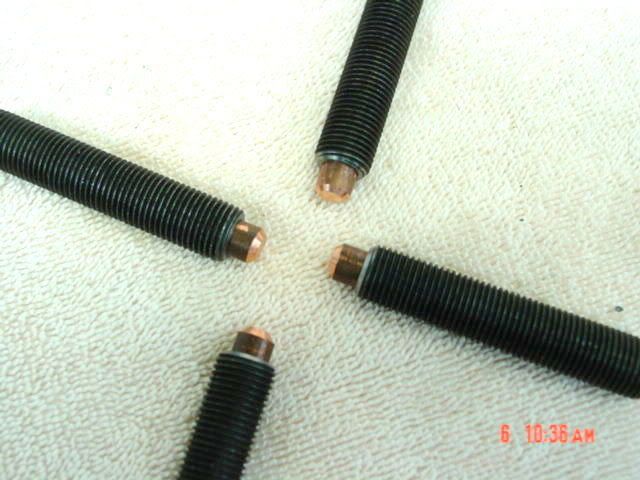
Fitch, I use copper as it deforms and grips the barrel better. I have used 2 spiders from the get go as I had to because of a long headstock. I have never had a slip.
I guess that I need a longer rod to try to slip one all the way through. I have had a couple that got a little hard before 12" of the rod was pushed through. I did not force it.
I'm not as worried about the muzzle as much as the chamber being coaxial to the lathe bearings. I have a long reach Interapid, but have gone to the Mitutoyo 312 type indicator with the short stylus as Jackie uses. The long stylus just jumps to much for my comfort going from lands to grooves and you don't get a true .0001 reading.
Butch
 The proof is in the “putting”, as in putting the procedure or product to the test. Somewhere, somehow, somebody thought that if the pudding didn’t set (get thick) that was some kind of proof.