Our New Range

Lee Martin

Active member
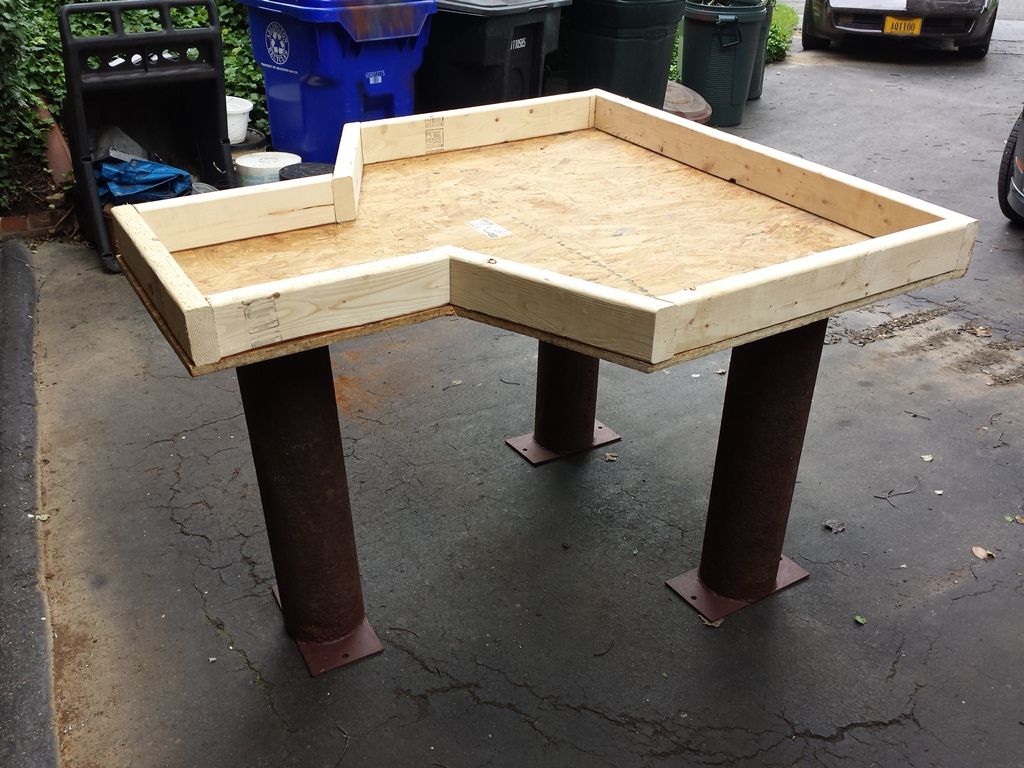
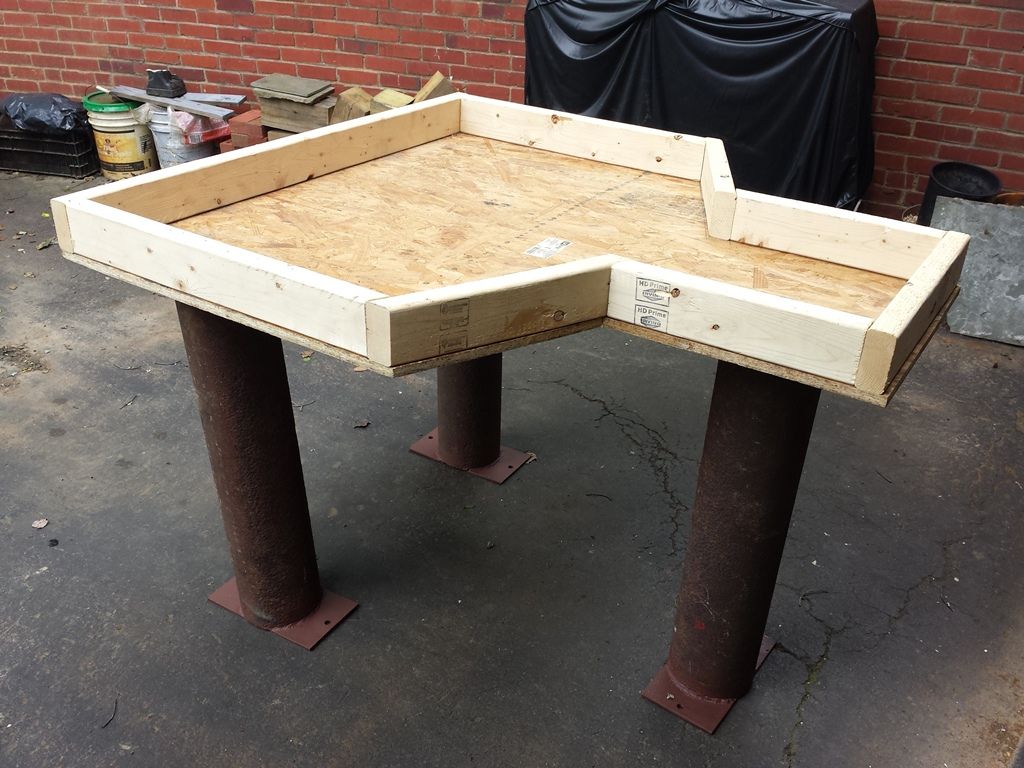
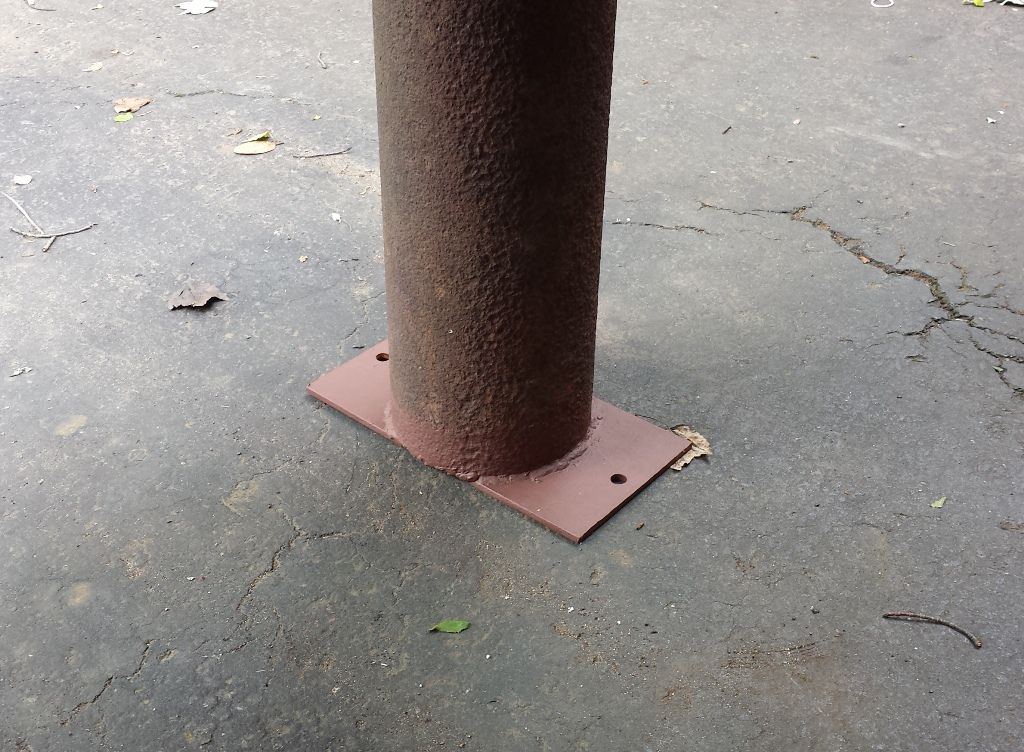
We started building a new 100 (and soon to be 200) yard range. With the help and advice of forum members, we got the bench mocked. Still need to cut the holes to fit the form and weld a T-brace between the legs. I’m now just waiting on the 15 x 15’ concrete pad to be poured (5” slab, 3500 psi rating, and ½” steel reinforcement). My contractor hopes to have it in by month’s end:


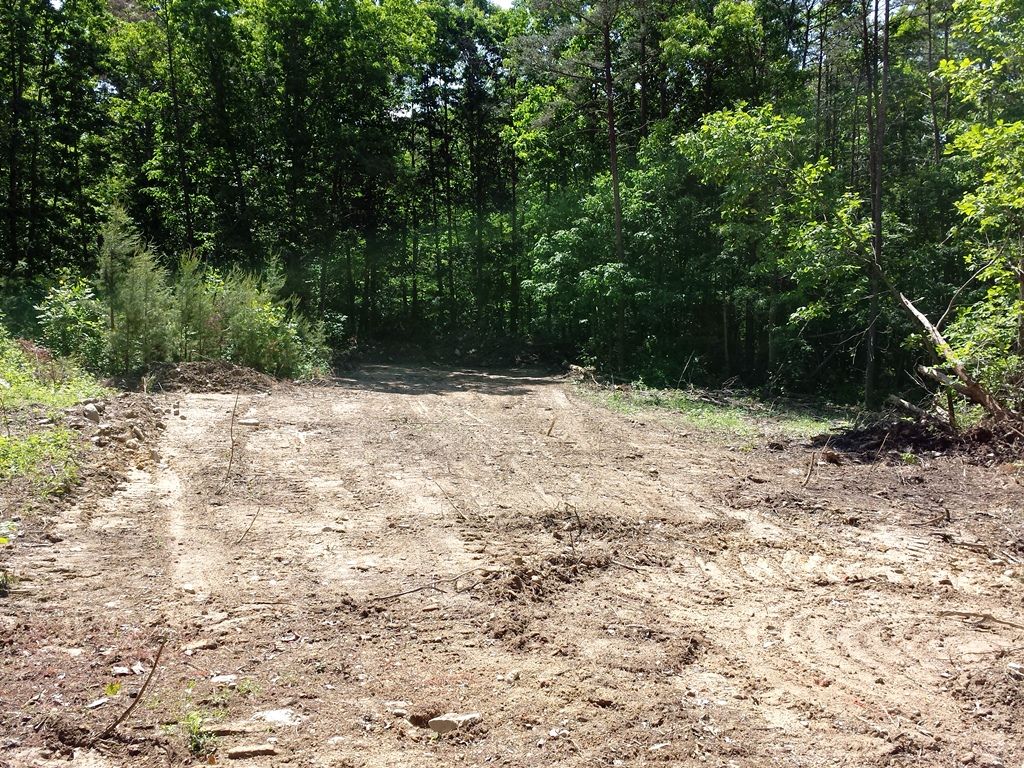
Some shots of dad and I clearing land with our vintage 1957 Catepillar:


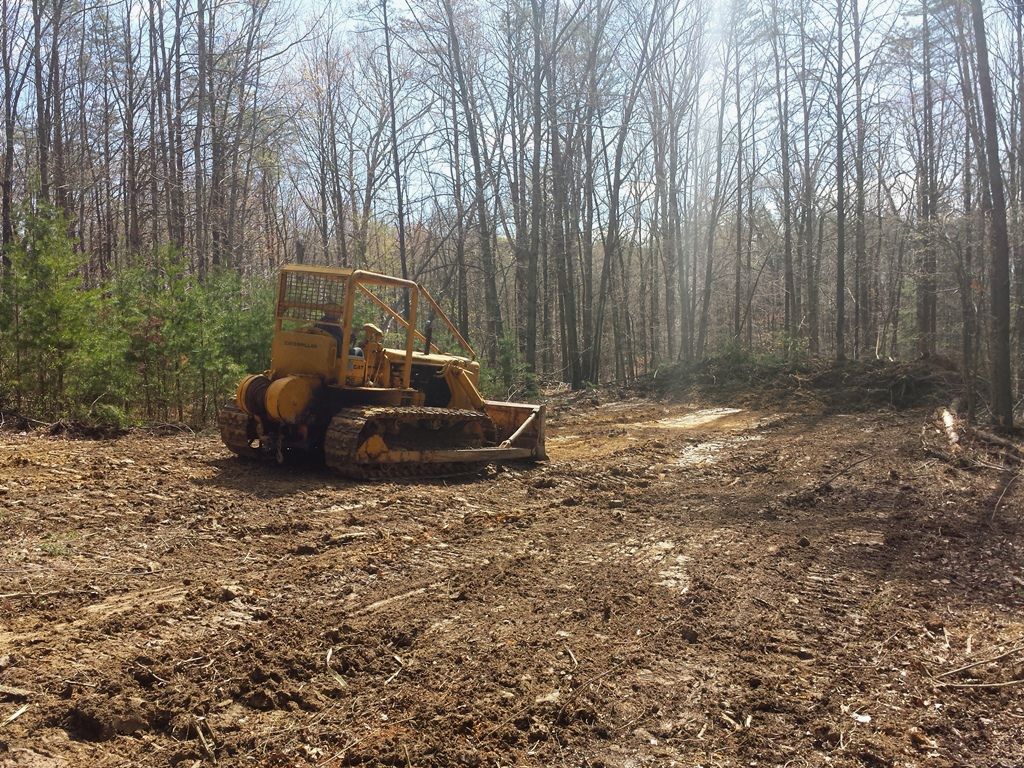
It’s hard to see through the shadows but the berm is a 7 foot high pile of dirt (very middle of the picture). Next year we’re going to push another 100 yards just to the left for a 200.


-Lee
www.singleactions.com
 
Better keep it quiet Lee. My Grandson may sneak over from Morgantown or when he goes to his young Lady's home in Winchester.
 
Lee, Her family has a cabin near Winchester. Anytime he can go, he is there. He loves to flyfish and shoot his revolver. No place to keep his BR rifle or hunting rifle.
 
New Range

Looking at your bench top form, I notice a small gap at the bottom inside seam. When you take the form apart you will have some sharp ragged edges. To prevent that run a caulking bead along the seam and smooth with a wet finger, gives a smooth rounded edge. I did that recently and it worked well. Don
 
Looking good!

Lee,

The calk is a good idea. I would run it up the the outside corner joints as well. When you are finished and the forms are off, If you have any rough edges, you can use a disk grinder to smooth them up.

I like your range very much and your bench plan.

Bill Wynne
 
More progress to report on our new range. In fact, quite a bit of progress so I'll spread these across a few posts:

Welding cross-braces to the legs:


Sheet metal plugs so we're not pouring concrete to the bottom of the legs:


Caulking the form:


The 15 x 15 foot pad was poured last month:


-Lee
www.singleactions.com
 
Form holes cut, braced, and leveled on the base:


Our Miller 10,000 Watt generator and welder makes in-field work easier:


Cutting and welding rebar into the top:


Mixing and pouring concrete:


Screeding:


Edging:


-Lee
www.singleactions.com
 
Form and blocks pulled. I also painted over the red primer with grey Rustoleum:


View from behind. The two pine trees to the right are going bye-bye soon:


After the concrete top cures for a month I'll seal it.

Next up is the roof which will sit on 6 x 6" pressure treated posts. These'll bracket to the concrete on home-made bases (1/4” plate steel, four sided and 6-inches tall with two cross bolts each. Two tabs will be welded and drilled for four 5/8” anchors per):


The same was used to affix the bench legs. A similar, yet smaller anchor will hold the 8-foot loading bench we're building.

-Lee
www.singleactions.com
 
Good looking range!

Lee, that looks great. I love your trees. We don't have trees like that in West Texas.

That bench will be there for at least the next hundred years. It is that stout.

I just have to ask. How did you remove the OSB bottom form? I have formed some concrete that I thought I would have to burn the forms off to remove them.

Concho Bill
 
Thanks Bill and funny you should ask about disassembly. Originally we were going to coat the inside of the form with motor oil. Forgot to do so however before we poured. We simply unscrewed the 2 x 4 sides, pulled them off, and pried the plywood down. I was amazed at how easy it came apart.

Now we didn't split the form. It's unlikely the top will need replaced anytime soon and it only took 20 minutes to build. As such it wasn't retained. A Sawzall cut around the legs:


-Lee
www.singleactions.com
 
Back
Top