Found a nice carbide shank boring bar...

DSM

Chuck
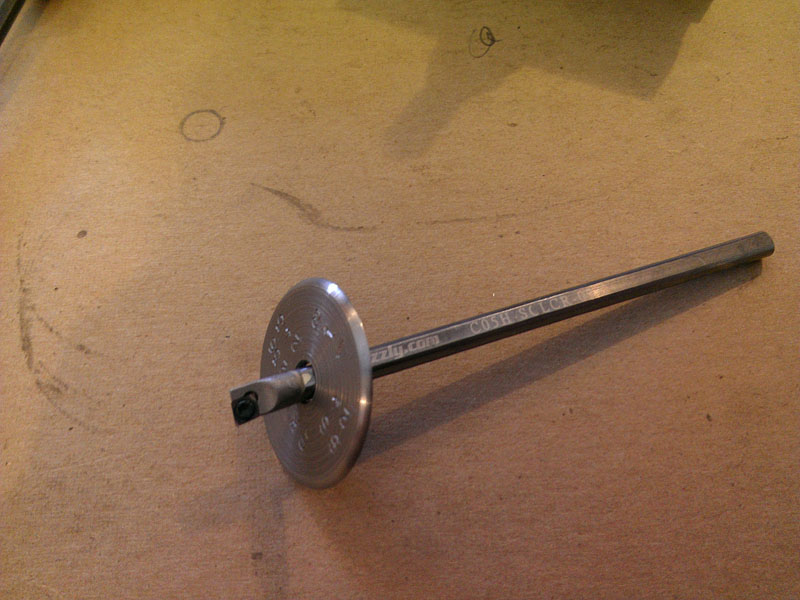
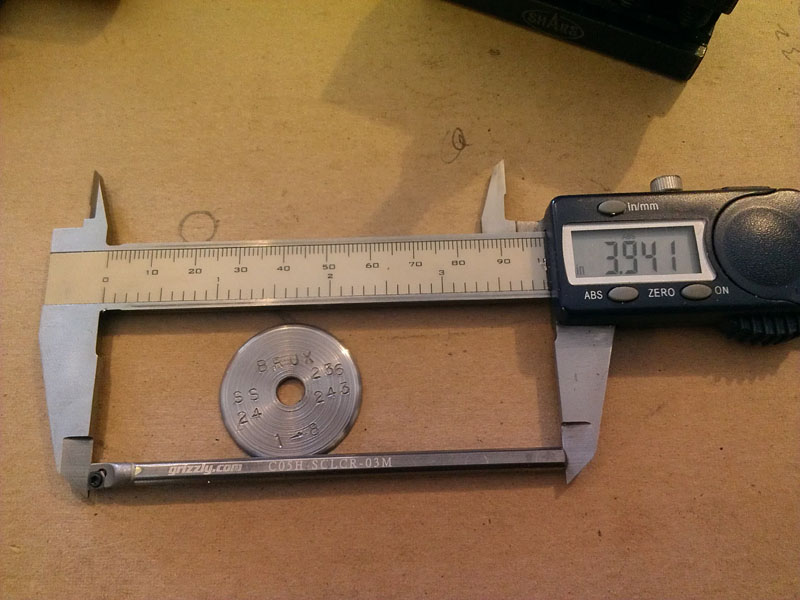
I picked up this Grizzly boring bar. Min bore is .236. Will work great for boring muzzle brakes, pre boring chambers, boring a seater stem hole, etc. Figure this might be use for others that are looking for a small minimum bore boring bar that that has enough length to make it very useful! Every mini boring bar I find with a small min bore will only bore 2" deep or so. This one has some length to it!

Overall the bar is very nice quality. About the only inserts I can find for it are made by Mitsubishi and are only sold in packs of 10.

http://www.carbidedepot.com/detail.aspx?ID=298890

IMAG1882.jpg

IMAG1883.jpg
 
Last edited:
I need a carbide shank boring bar about that size. My little steel bar has to much flex for some operations. Lee
 
I can't believe the low prices on these bars. I almost exclusively use Iscar products in my shop and I'm used to paying a bunch more than this. I don't think I would move away from their inserts but the bars maybe.

http://www.grizzly.com/products/T10242

This bar in the link is what I use for finish boring dies and chambers on a CNC. I modify the bar so the insert side is nearly straight back from the insert to the chamber depth you will be boring. The clearance side of the bar I contour to make similar to the chamber profile when the insert is in the neck area. This creates a much more rigid bar than a straight carbide shank bar for this application. On a manual machine you could clearance drill, then bore the chamber up to the shoulder, then neck if you desired.
 
DSM - It sounds cool but a video would be pretty boring as well as watching it in person. When the bar is in the chamber you can't see anything. Coolant is flying everywhere and I just keep the door shut and twiddle my thumbs till it's done. Most of the work is at a computer designing the toolpaths and running a machining simulation to verify the tool isn't going to run into something it shouldn't. The finishing toolpath cuts the entire chamber in one continuous pass starting at the chamber opening and finishing at the end of the throat. Since the toolpath and machine motion are theoretically perfect to the chamber design, you only need to gage a few areas of the chamber to confirm its entire accuracy. I take several passes creeping up on my finish sizes and I use pins to gage the start of the chamber and the neck. You could think of the programmed machine motion as your ground reamer profile - except you can have a new one in a matter of minutes.
 
This came up a while back in another post on freebore diameters. This screenshot shows a radius I put between the chamfer off the end of the neck to the freebore diameter. This chamber is a 300 WSM. The freebore is .100 long and is tapered .0006, (in diameter), down to .3084. The radius is .015. It acts as a precision funnel in my opinion.
 

Attachments

  • CB Throat.jpg
    CB Throat.jpg
    9.5 KB · Views: 163
Back
Top