How I do it.
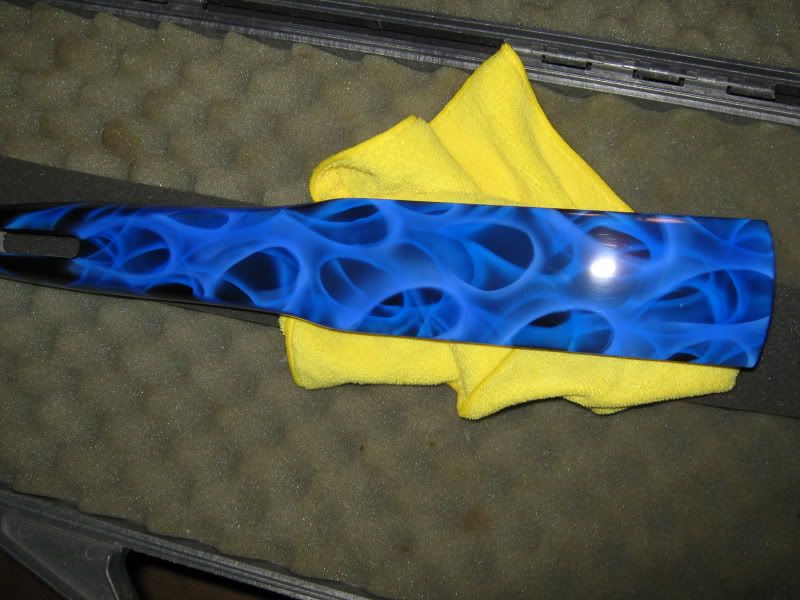
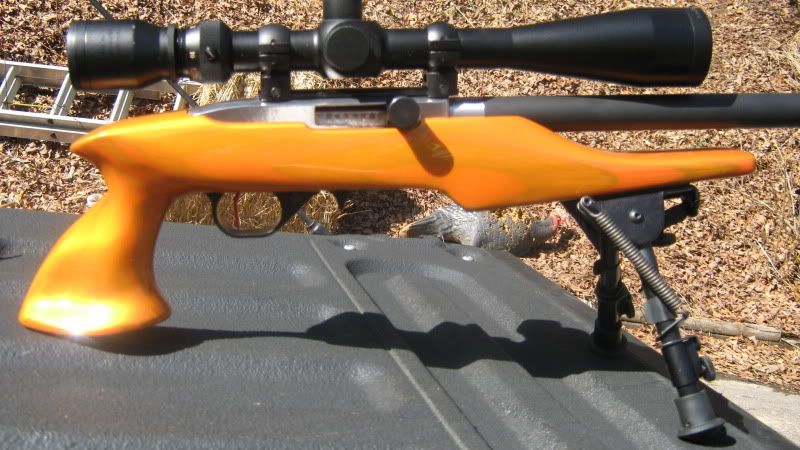
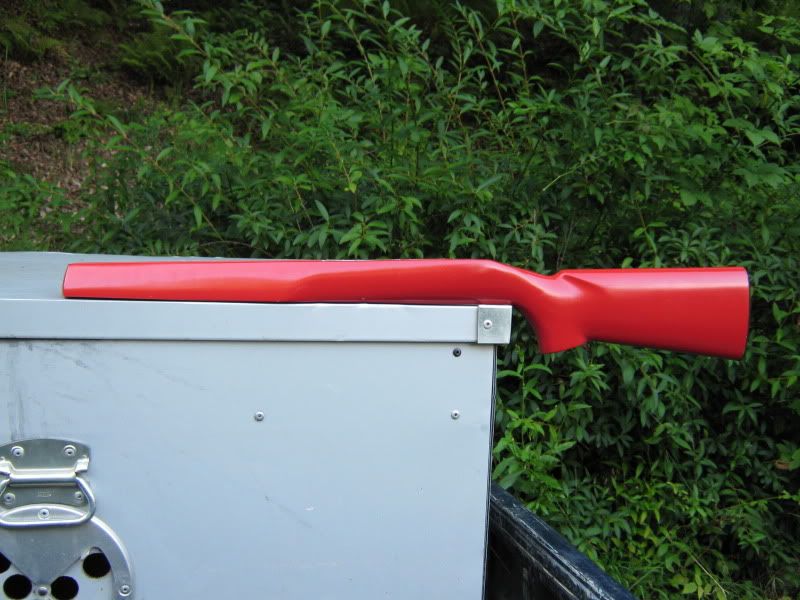
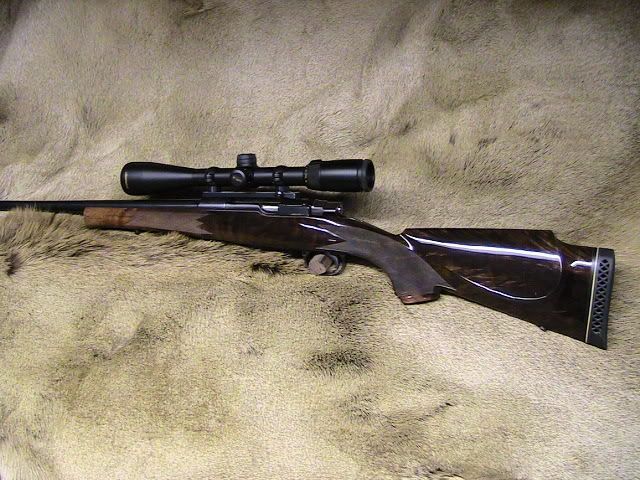
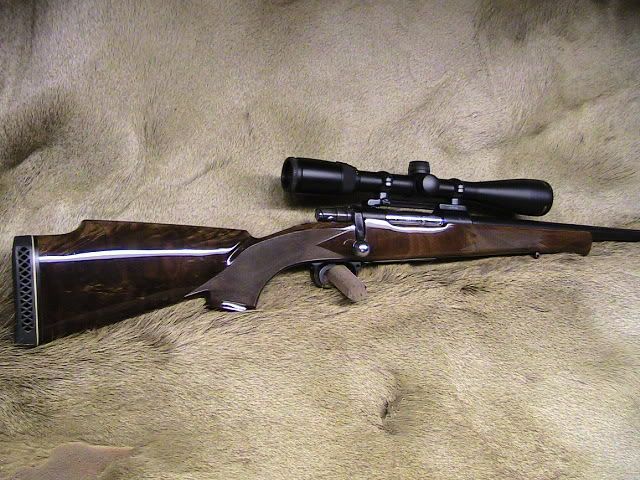
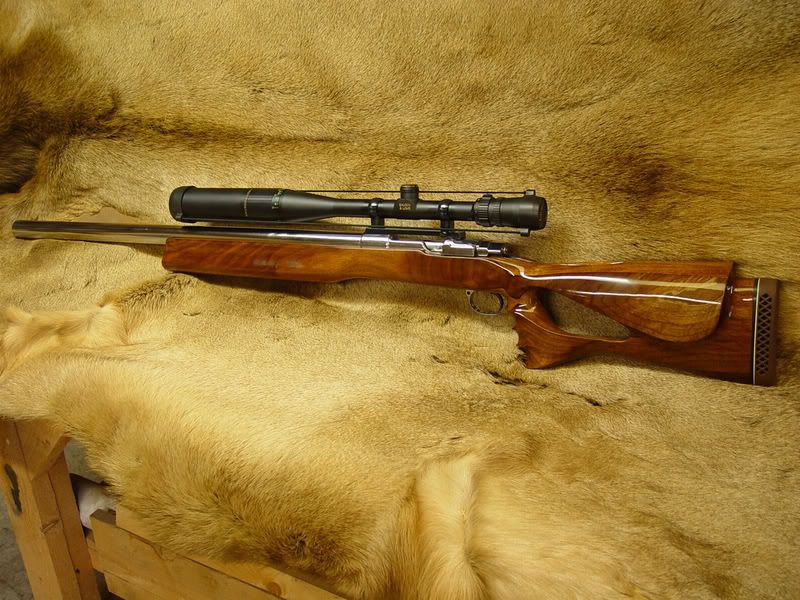
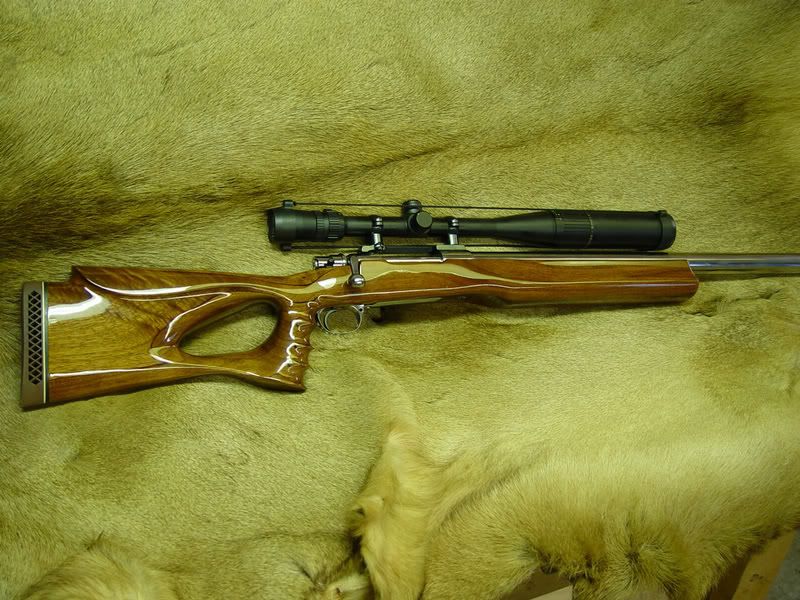
All of the stocks you see of mine are done with some sort of PPG two part urethane auto clear coat finish. I rubbed mine out after curing as I wanted the glasslike finish with no grain showing in the finish. There was usually some slight dust nibs here and there that I didn’t like either. As hard as I tried, I was unable to get a completely perfect finish. A dust controlled environment would have been needed.
After rough sanding with progressively finer paper I get to 320. I finish sand with 320 and inspect the stock under a magnifier light from different angles, looking for any rough sanding marks or rasp marks that are left in the surface. The rasp marks are by far the worst, and usually the worst on the laminated birch stocks. A dull rasp will depress the wood instead of removing it, causing a dark line that shows up when you apply the first coat of finish. If you are using a rasp on lam birch stock, it better be sharp or you will have a mess.
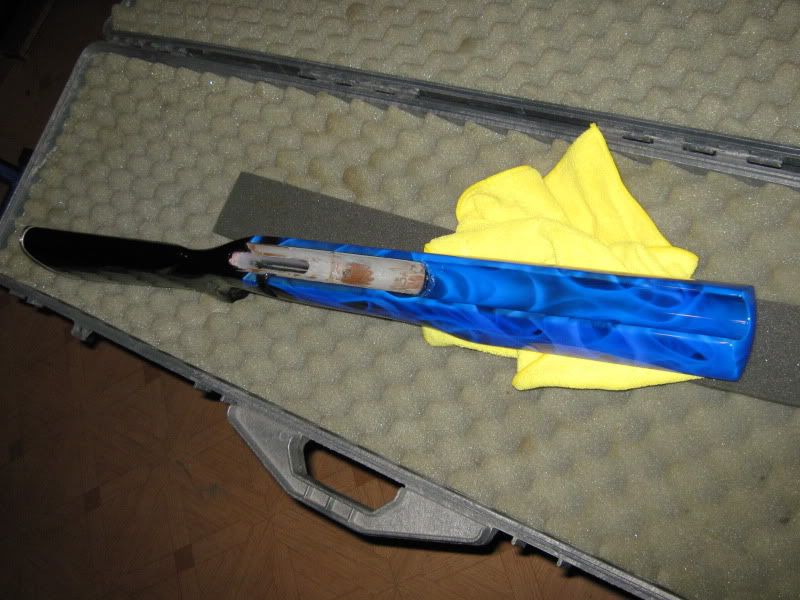
During the final sanding process, I make sure I do not touch the stock in any way with my fingers. I use a “T bar” that I screw onto the butt of the stock, and the stock is laid on a clean cotton bath towel to do all the sanding. Drill a crosswise hole near the rear of the T bar handle to hang the stock with later.
I do not whisker the stock, and have never seen a need to.
After final sanding with 320 I blow the stock off with compressed air, and do a final inspection under a bright magnifying light. Birch lam stocks require some special care. There are hard and soft areas due to all the glue joints, and sanding with fingers or something soft will give you ridges. You must look carefully for these. As much sanding as possible should be done with a sanding block of some sort.
Once you get the stock sanded and blown off, you can set up for spraying. I would try to make some apparatus to turn the stock on while you spray. If you make a T bar for the back, an easy way is to find a metal tube just a little larger than the handle and attach that to something sturdy so your stock doesn’t tip it over. In this way you can spray with one hand and turn the stock with the other. Kind of like doing a chicken on the rotissery.
I spray the stock in a home made cabinet with a suction fan (vented to the outside) attached. My stock turner is a wheel chair wheel I stole off my wifes wheel chair. Its kind of a comical release for me to watch her just go around in circles. She doesn’t get much of a kick out of it though.
Now for the good stuff. If you are after the glasslike finish, you must build a good and solid substrate, otherwise your finish, although smooth at the beginning, will eventually “pull” into the stock and give you grain lines. If that is OK with you then you can omit this part of the process. If, on the other hand, you want the stock to me smooth for years to come, then you have to have a good base.
I want the first coat to soak in as far as possible so I put in more reducer than is recommended. I can’t tell you exactly how much, because it doesn’t really matter a lot. Just get the mixture so it is like water. Then soak the stock with your mixture. Spray it down and keep hitting those areas that are soaking in. When it starts building on the surface, you are done with the soaker.
Hang the stock. You should have drilled a hole near the rear of the T bar for this, before you squirted the stock just for this purpose.
I let the stock sit a minimum of two weeks from the date of the soaker, but there are variables to deal with. The birch lam stocks I have done didn’t require two weeks but I gave them that anyway. The temp and humidity are variables also. What you are looking for is not being able to smell the volatiles vaporizing out of the stock when you put your nose up to it and smell it. If you can smell anything, let it go for some days longer.
Once the soaker has set up, you can sand it. Do not under any circumstances touch the stock from this point on with your meat hooks. I dry sand with 320 but don’t put a lot of force into it. You just want to level everything out. Use 400 around the sharper edges so you don’t knock them down too far. You can wet sand it if you want, but I feel it is a waste of time at this point because you have so much finish to put on. Blow off the dust.
Mix up some finish and spray it while you are turning it. Keep on turning and spraying, letting the previous coat flash. As long as you are turning it, you can put on several or more coats. But you have to keep turning it or they will sag. Very important: make sure you cut out a couple of hours for this session.
How much to put on? Real easy. I quit when I get nervous about the amount I have put on. (sorry) When you quit, keep turning for a while, then you can turn it, leave for a minute, come back and turn it 180 degrees and leave again for a minute or two. You get the picture. After an hour or so, it should be set enough to hang.
If you get a run or pin hole in the finish, don’t worry about it. If it’s a pin hole, the next day, mix up a little finish and daub it in the pin hole with a little brush or paper match stick. Build it up above the surrounding finish and it should leave you alone from there. You will be wet sanding any runs.
Let the stock dry until you can’t smell any finish. Now wet sand with 400, being careful not to cut in too deeply on the sharp edges. Just “touch” them with the 400. Do not touch the stock in any way shape or form with your fingers, before or after sanding.
After wet sanding you should have a finish that is mostly flat with maybe a few grain lines showing through. If there are a lot of grain lines, blow off the stock and build some more finish as above.
Regardless of how many sessions it takes you, what you are looking for is a wet sand that shows very little grain lines. (shiny lines).
The final session is putting on at least three good coats, without any runs, drips or errors. The stock finish should be perfectly smooth all over the stock. Hang until you can’t smell any……..you get the picture.
After a week or so, you may see the finish starting to “draw in” in some places. This is not a problem as long as your last coats were thicker than the area where it has drawn in. If you have got to this point without going postal, you know you haven’t done anything wrong, just that you need some more coats. No big deal. After doing a few, you will find out it is kinda hard to screw this up. If the draw in is very shallow, you should be good to go.
So after the finish is set, I rub it out. I start with 600 wet. I am still using the T bar set up at this point because I don’t want to touch the stock if I find I need to do another session. After wet sanding with 600 you should have a perfectly flat finish. Watch out for the edges.
Now I go to 1000 wet. You must be careful here. I don’t know why, but it seems you have to “break the paper in” before it quits leaving scratches. A new piece of paper will leave deep scratches that you have to come back to and take out. So what I do, is “break the paper in” on the bottom of the forearm. I fold the new piece, dip in water, and do some sanding on the bottom of the forearm until it smooths out. Then go to last place you stopped and continue sanding. I try to use the 1000 as long as I can as it will give you the best finish when it is worn.
1200 wet is usually the last paper I use. I have done it with wore 1000 but you usually spend more time with the compound then so it is kind of a wash. Break in the 1200 also for best results.
I usually let the stock sit for a week after sanding and let the “green” finish harden. When sanding, you will smell the volatiles coming out that are still trapped in the finish.
After a week or so, I use a liquid type polish to start with. This is always a type of metal polish, and I don’t know why, but they seem to work better (for me) than the stuff made for rubbing out finishes of this type. I then use regular Turtle wax. Regardless of what you use, this is the way to test your combination. Testing a small area, use a clean 100% COTTON rag and rub the polish until you get a fairly glasslike finish. Then, using a 100% COTTON rag, rub it out with the Turtle wax or a very fine cleaner wax of some sort. If your combination is good, you will see a glasslike finish with no fine scratches in it. It may take some different combinations, but when you find it, you will know. If you find a lot of fine scratches in the finish, it is from the wet sanding, and usually from using paper that hasn’t been broken in. You can spot sand those areas with some wore paper and that usually solves the problem.
Repair of this finish is super easy and usually can’t be seen. Just mix up some finish, daub it on with a brush or paper match stick and let it set up for a week. Then wet sand, polish and wax. You are back to where you started.
This is not the only way to do this. And there are products that stock makers use that are excellent for this work. But the above is what I have done with locally available products. And if I found them where I live, I am sure you can find them where you are.
I am sure there is something I have forgotten, but I have to get a splitting maul fixed tonight, and I have to work tomorrow.
Thanks for all the help you guys have given me. I hope this helps someone.
Jim


") and when I come back after a cuppa' smoke I've got a friggin' SAG somewhere's. 3 times I've had it happen on trucks. I'm tempted to weld up my standoff with a mount for my barbecue spit!
and when I come back after a cuppa' smoke I've got a friggin' SAG somewhere's. 3 times I've had it happen on trucks. I'm tempted to weld up my standoff with a mount for my barbecue spit!