
I have a couple of McMillan stocks that I purchased with pre-colored shells...the color was baked in. I would like to refinish at least one of these with a nice paint job. No fancy air-brushing, but just a nice single color metallic with glossy clear-coat finish. I believe those I've seen are a type of automotive paint job. There is some info online about doing this, but I'm not sure if I want to try it myself. Is a diy approach practical? If so, could someone point me in the right direction. If not, who specializes in this...as I said I'm looking for a nice glossy red or blue metallic finish, not a bank breaking air brush masterpiece. I asked at a local auto-body shop, but they weren't interested...or helpful. thx!
You are using an out of date browser. It may not display this or other websites correctly.
You should upgrade or use an alternative browser.
You should upgrade or use an alternative browser.
Stock painting...
- Thread starter feffer
- Start date
M
M Casselton
Guest
Try Accurateshooter.com
Enter stock painting in their search engine. There is a tutorial by Mike Ricklifs.
Hope this helps
Enter stock painting in their search engine. There is a tutorial by Mike Ricklifs.
Hope this helps
Bill Gammon
New member
Key in TM Stockworks, argumently the best painter going, give Tom a call and talk to him.
Thx for the replies. Wilbur hit my worry exactly. I like to work on guns, am pretty bold, and have pillar bedded a number of stocks...which turned out very well...
but I have a feeling this sort of painting is over my head. Maybe if I did 4 or 5 for practice...but then there goes the budget.
I did search quite a bit before posting and saw Mike Ricklif's tutorial. Almost makes me think I could do it. I know Tom Meredith is a trusted stock guy, so I will give him a call.
I am curious though, has anybody here ever done one...successfully?
HuskerP7M8
Member
I have a couple of McMillan stocks that I purchased with pre-colored shells...the color was baked in. I would like to refinish at least one of these with a nice paint job. No fancy air-brushing, but just a nice single color metallic with glossy clear-coat finish. I believe those I've seen are a type of automotive paint job. There is some info online about doing this, but I'm not sure if I want to try it myself. Is a diy approach practical? If so, could someone point me in the right direction. If not, who specializes in this...as I said I'm looking for a nice glossy red or blue metallic finish, not a bank breaking air brush masterpiece. I asked at a local auto-body shop, but they weren't interested...or helpful. thx!
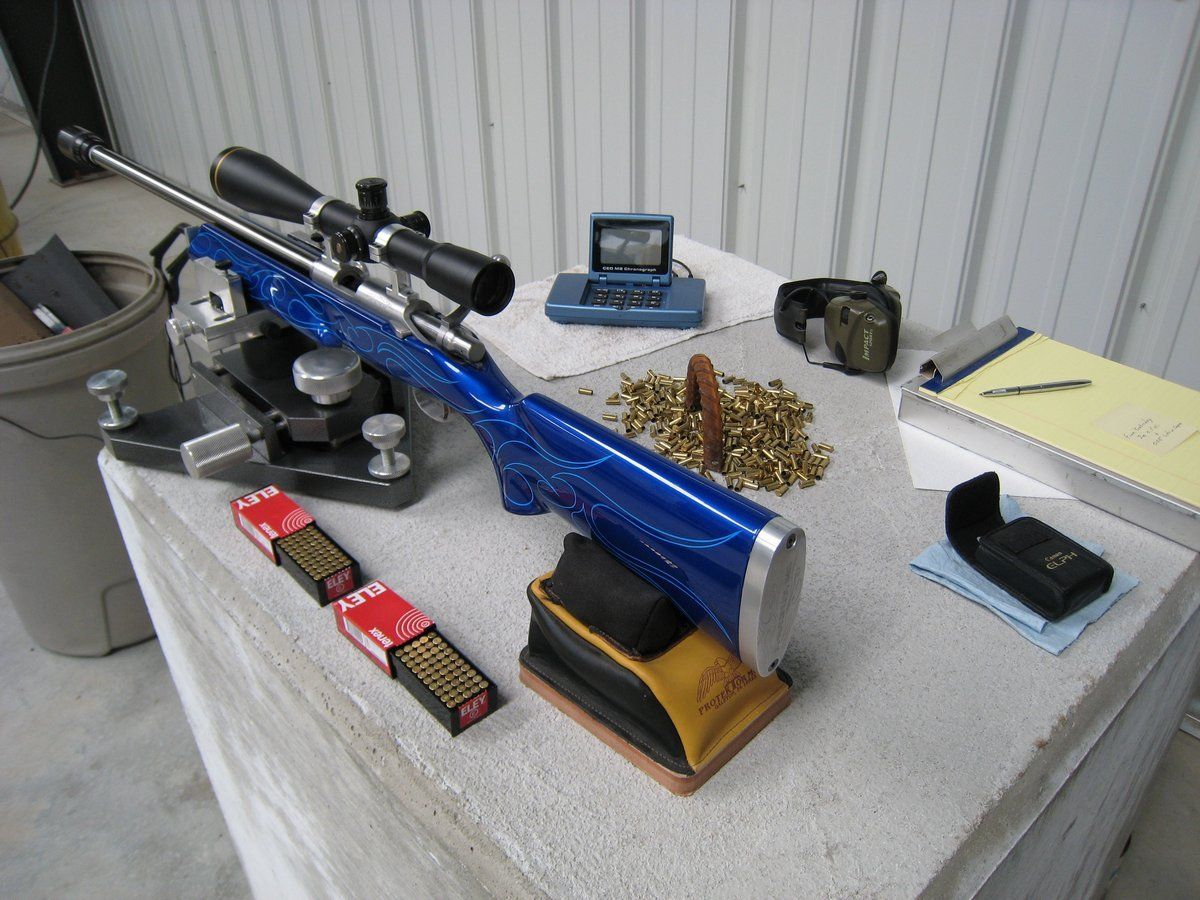
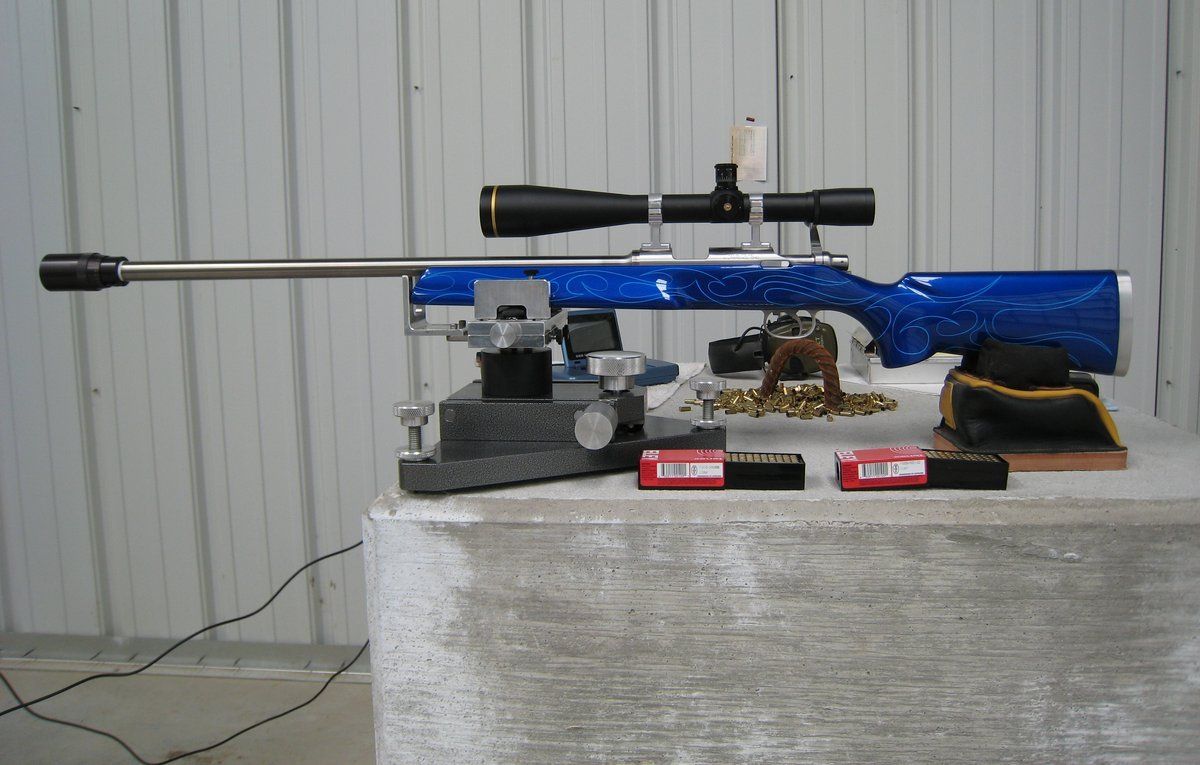
As Tim suggested, I've had a few stocks done by guys who specialize in motorcycle paint jobs.
Here's one from a few years ago that I had painted while at the Sturgis Rally. It's a McMillan stock like yours:
Landy
Dusty Stevens
Hollow Point Dispenser
The problem with a car painter or motorcycle painter is they like to paint with a lot of paint. Just tell em you cant have more than 4oz of paint on it. If you dont watch em theyll put a pound on it. Ive been known to paint a few over the years
I did briefly try the auto-painters...the ones I talked to weren't interested. I'll have to check out the motorcycle shops.
Landy, thx for the pix. Was that first one molded in color from McMillan, and just clear-coated or was the random pattern painted on? The pin-striping on the rimfire is really nice!
Landy, thx for the pix. Was that first one molded in color from McMillan, and just clear-coated or was the random pattern painted on? The pin-striping on the rimfire is really nice!
Bill Gammon
New member
The biggest problem with the motorcycle painters is they do not use the correct paint. They can and most times can paint your socks off but if any solution gets on the stock it will bubble. Now I know you are not suppose to get cleaning solution on your stock, but it happens. Give TM a call and talk to him.
HuskerP7M8
Member
I did briefly try the auto-painters...the ones I talked to weren't interested. I'll have to check out the motorcycle shops.
Landy, thx for the pix. Was that first one molded in color from McMillan, and just clear-coated or was the random pattern painted on? The pin-striping on the rimfire is really nice!
Yes, one of McMillan's standard molded in colors but that finish is now hidden under a layer of paint and many clear coats. Pin striping was done by air brush.
I know absolutely nothing about paint, so I relied on others to steer me in the right direction. As already posted there are knowledgeable as well unknowledgeable painters and other concerns that may need to be addressed before anyone randomly selects a painter who specializes in areas other than stocks.
Landy
HuskerP7M8
Member
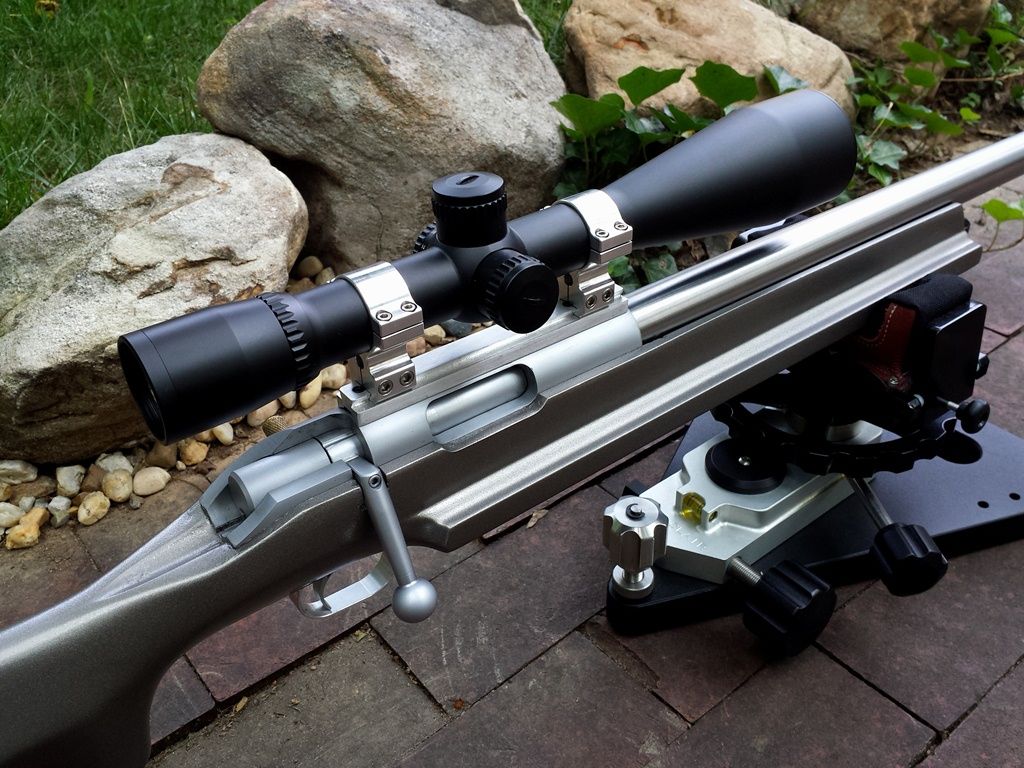
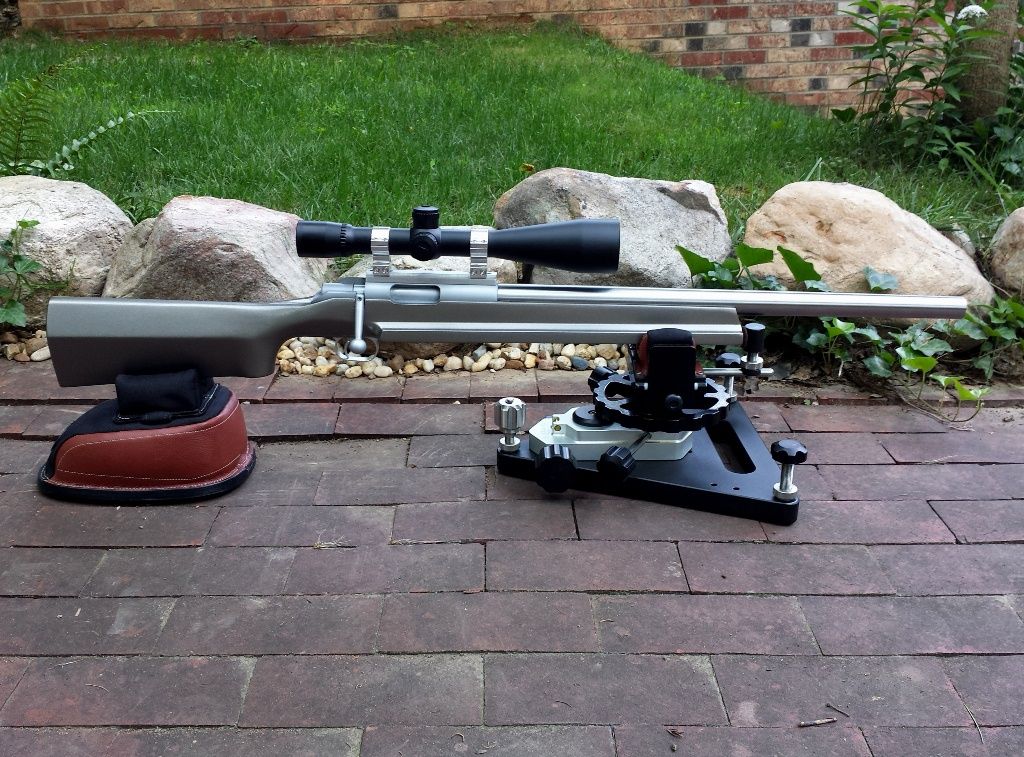
Nice rifle (really nice).....who made that concrete thing it's on?")
Wilbur,
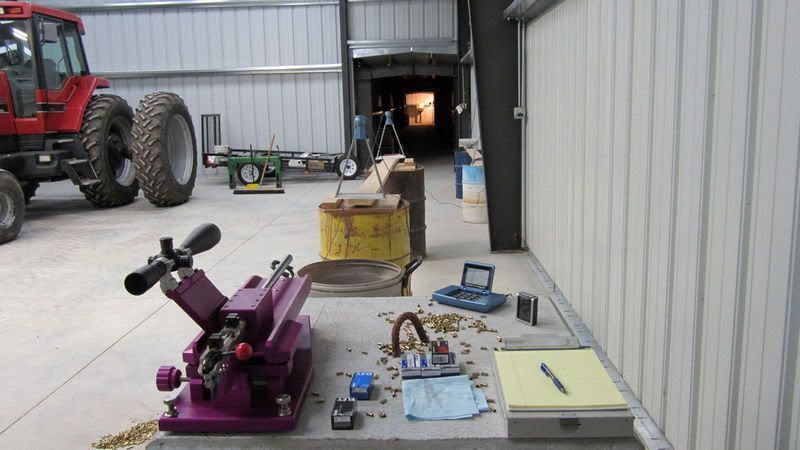
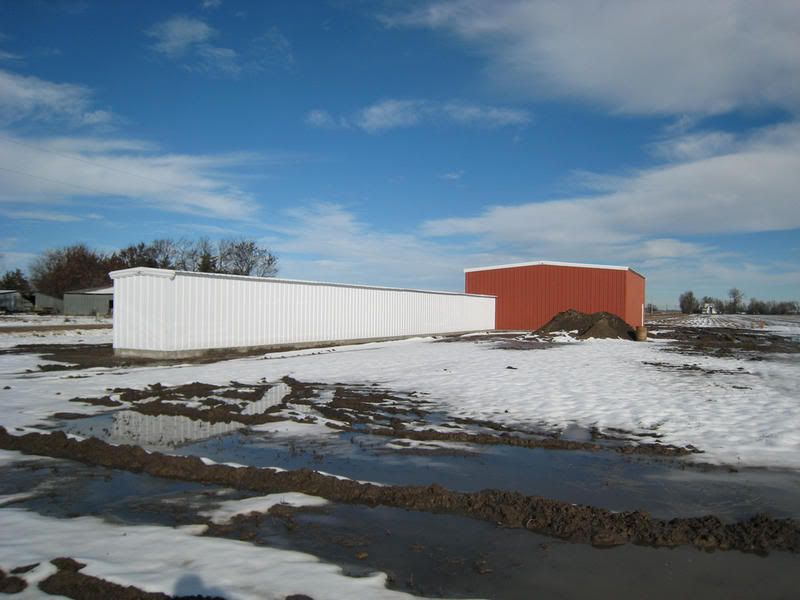
That's my test bed. A cubic yard of concrete I had them pour when building my test facility many years ago. It was simple and easy. At nearly 4,000 lbs, it's pretty stable for anything I mount on it. LOL
Landy
Mike Bryant
Active member
Ditto, on what others have said about having someone who knows what they are doing when it comes to stock painting. I had painted several stocks for myself years ago back when you could get Dupont Lucite acrylic lacquer and some with Imron. I had Michael Kavanaugh repaint some of the stocks before he went into the Navy and quit doing it. The two I had painted with Imron had lost 4 ounces of weight when they came back. I never painted another stock myself as it was pretty obvious I didn't know how to do it. 20 coats of paint is not what you want on a benchrest rifle.
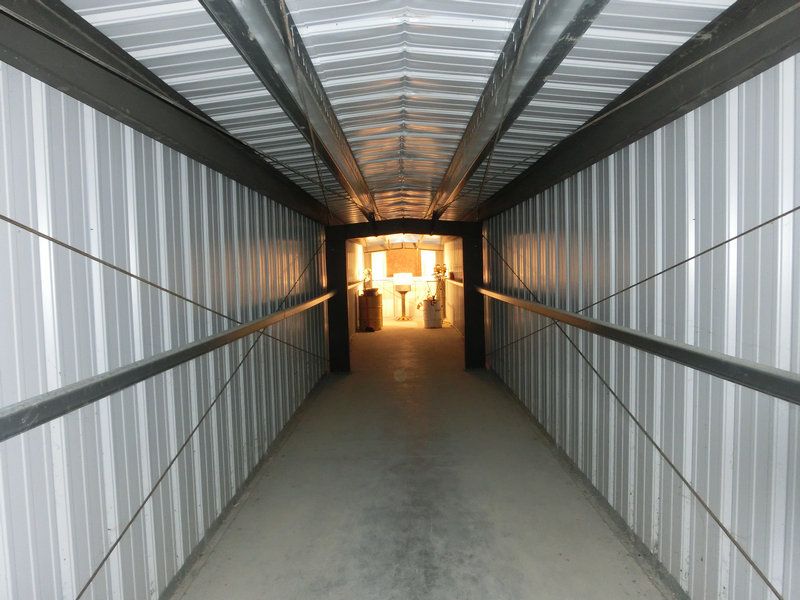
Neat test tunnel. How long is it? I guess that the block of concrete can be picked up with a front end loader and moved to where you want it.
Neat test tunnel. How long is it? I guess that the block of concrete can be picked up with a front end loader and moved to where you want it.
Dusty Stevens
Hollow Point Dispenser
I love that range. What type backstop you got in there?
HuskerP7M8
Member
Neat test tunnel. How long is it? I guess that the block of concrete can be picked up with a front end loader and moved to where you want it.
Away from home & on my phone.
You guessed right and the rebar "hook" can be seen in one of the photos.
Landy
HuskerP7M8
Member
I love that range. What type backstop you got in there?
T1 steel angled and radiused to direct the bullets thru a slot in the box I welded underneath. Got lucky with my design and have little to no "blow back" out of it.
Landy
HuskerP7M8
Member
Multi-purpose, depreciation is 1/2 Ag & 1/2 personal.Almost looks like my brother's farm buildings...except for the long tunnel coming off the shed
Don't build a tunnel unless you do a ton of research. Mirage will render a lot of them to useless status unless many variables are accounted for.
Landy
Lee Martin
Active member
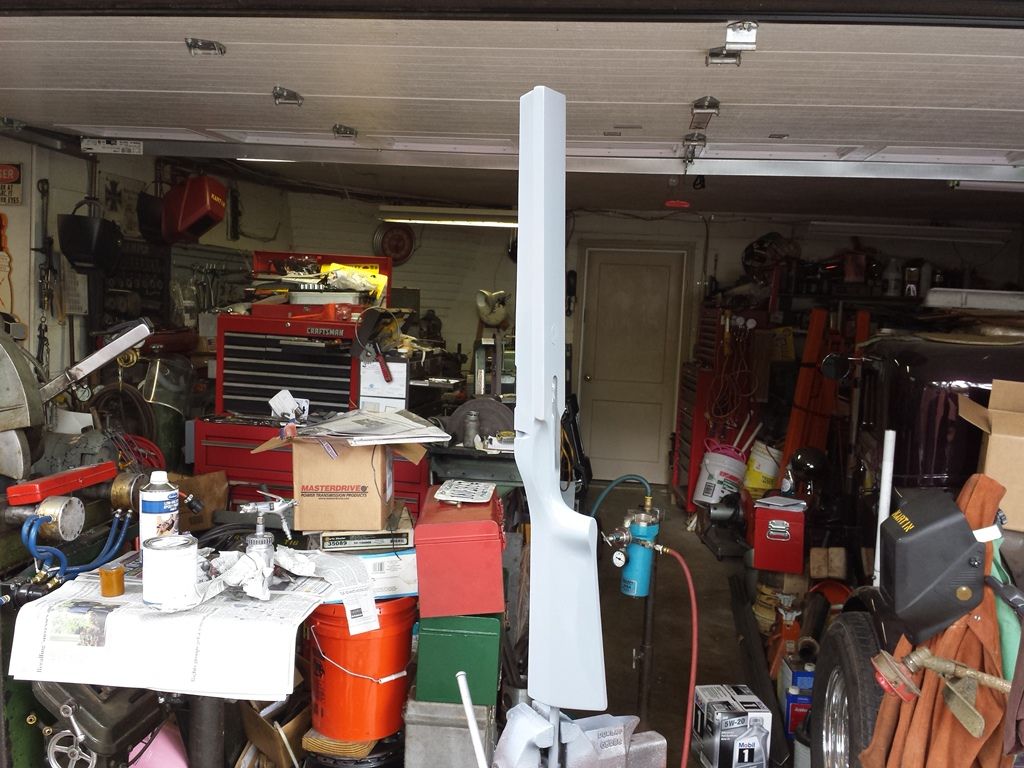
I just did a McMillan and liked how it turned out. Steps involved:
1) Sand the surface with 400 grit paper
2) Lay down two light coats of grey epoxy primer
3) After 48 hours, sand that with 800 grit
4) Shoot single-stage Urethane with a small Devilbiss gun. One mild tack coat followed by two medium coats 15 minutes apart.
Priming:
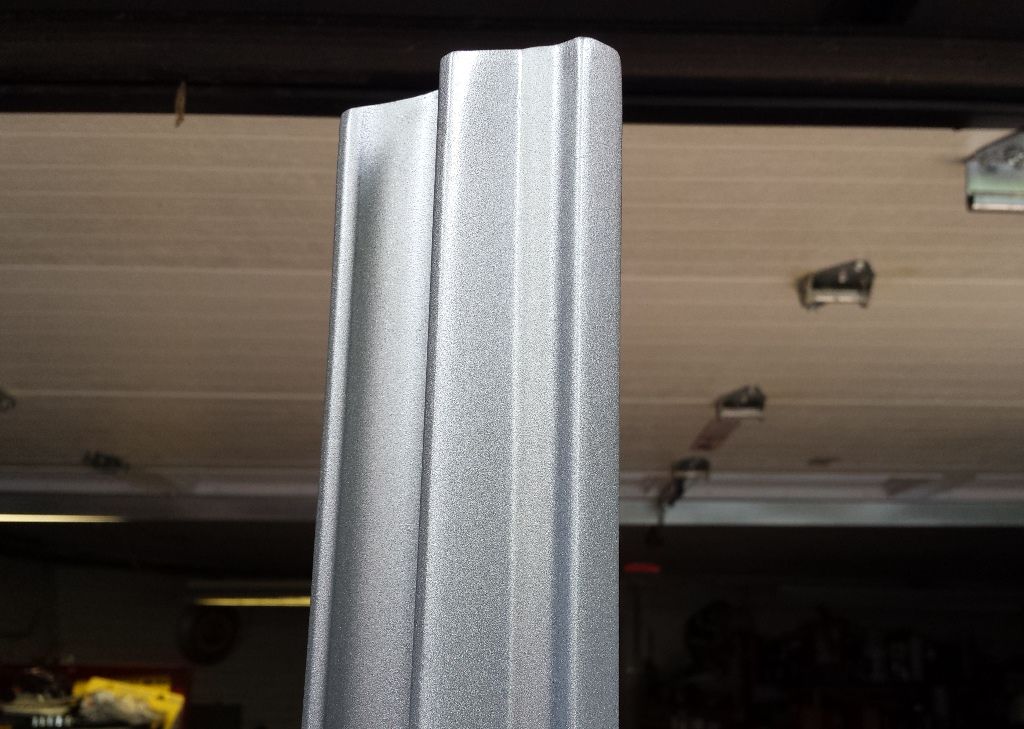
Primer sanded with 800 grit:
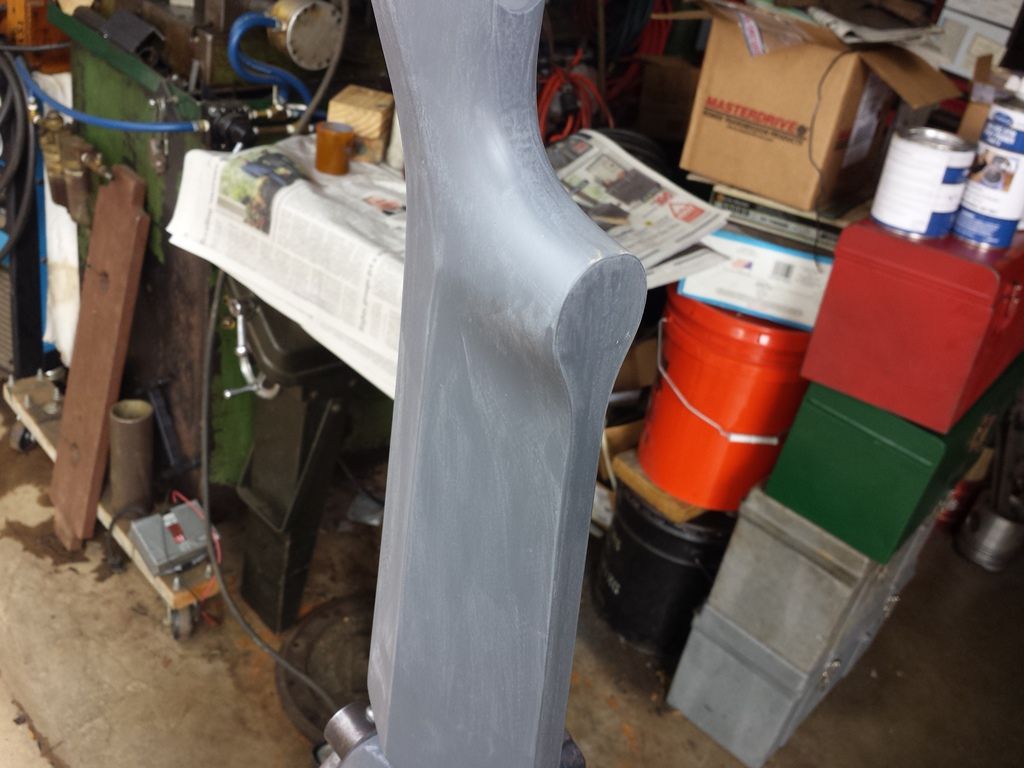
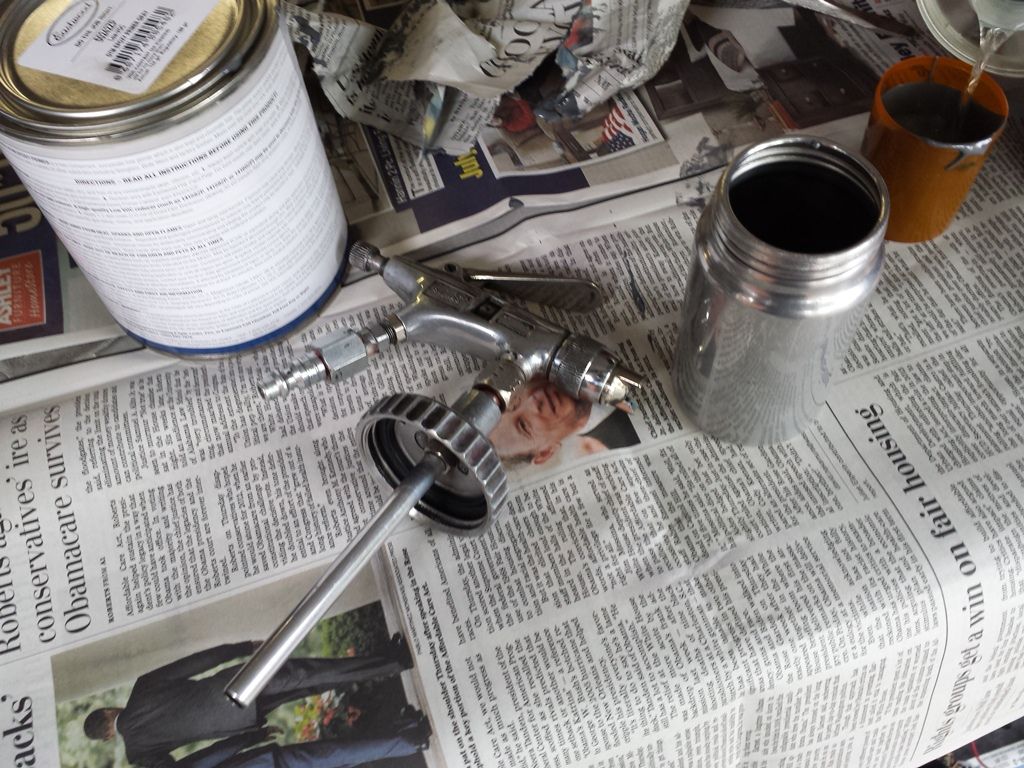
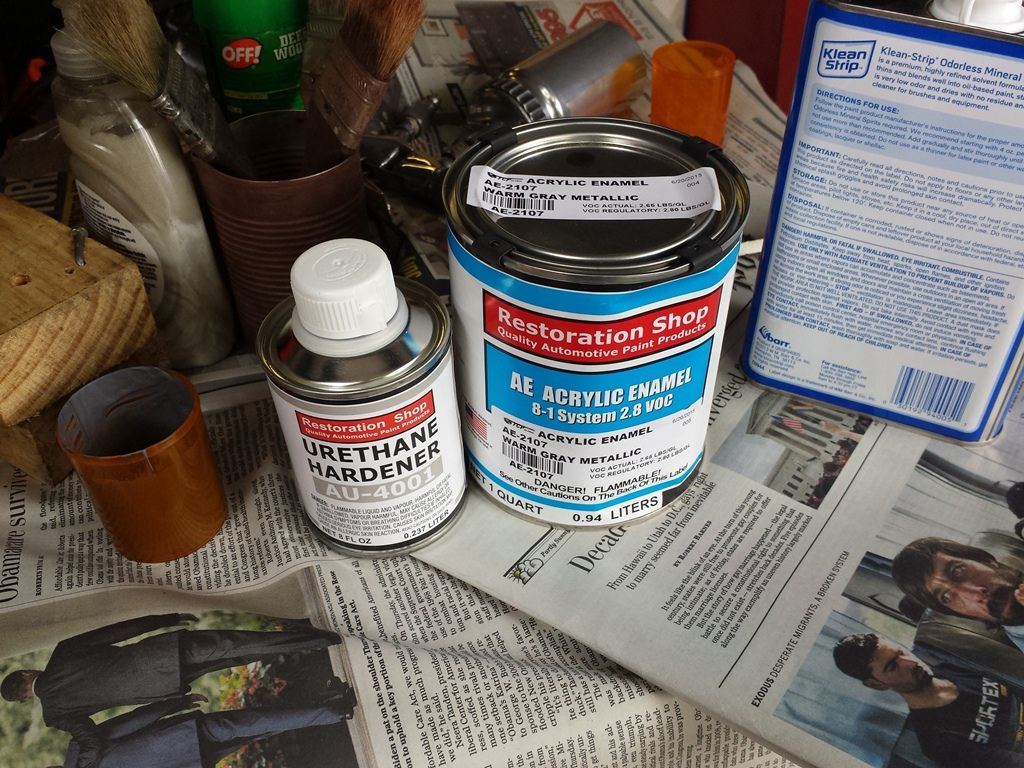
Paint supplies:
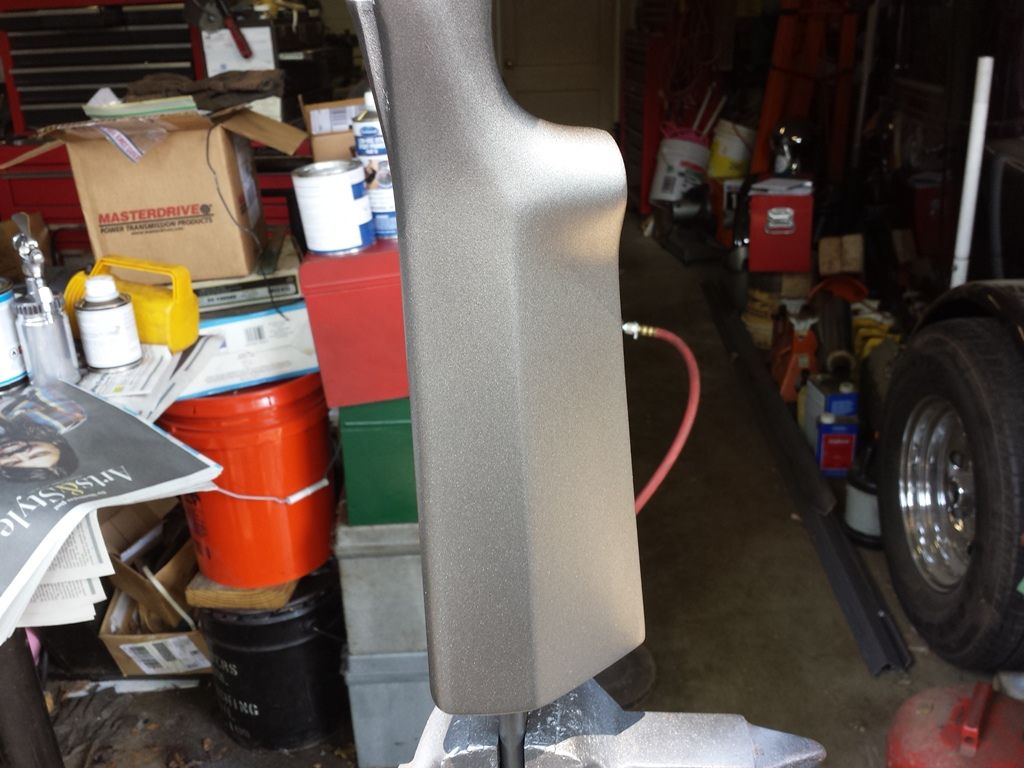
All of this only added a few ounces to overall weight.
-Lee
www.singleactions.com
1) Sand the surface with 400 grit paper
2) Lay down two light coats of grey epoxy primer
3) After 48 hours, sand that with 800 grit
4) Shoot single-stage Urethane with a small Devilbiss gun. One mild tack coat followed by two medium coats 15 minutes apart.
Priming:


Primer sanded with 800 grit:

Paint supplies:


All of this only added a few ounces to overall weight.
-Lee
www.singleactions.com