Made a Hardened Sizing Mandrel for my K&M Expandiron holder

DSM

Chuck
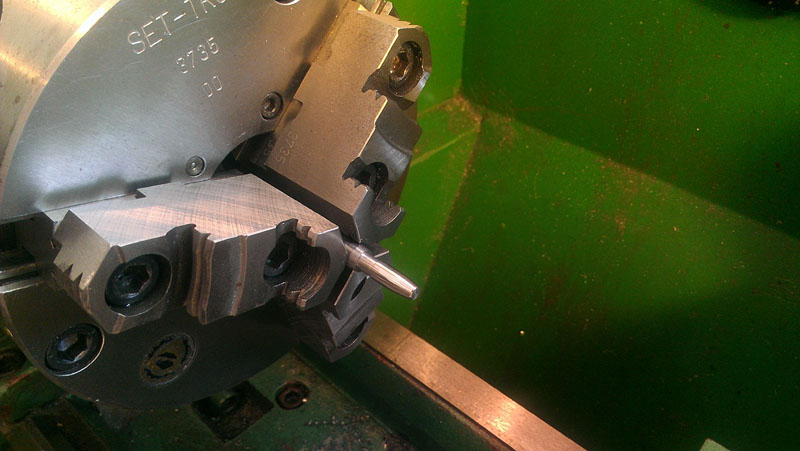
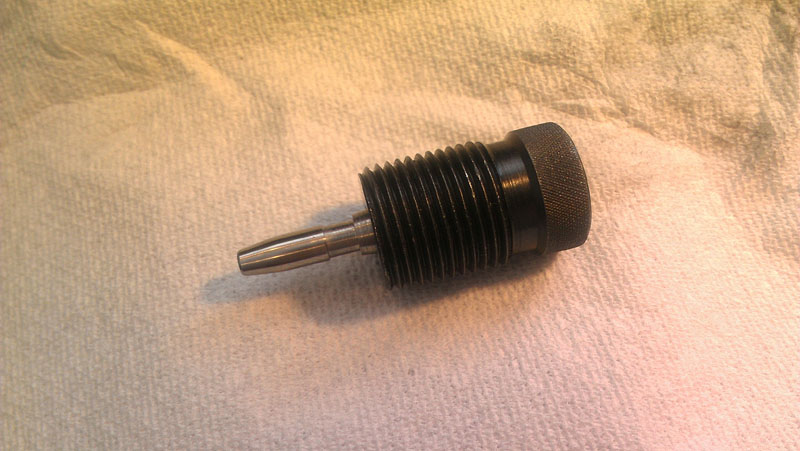
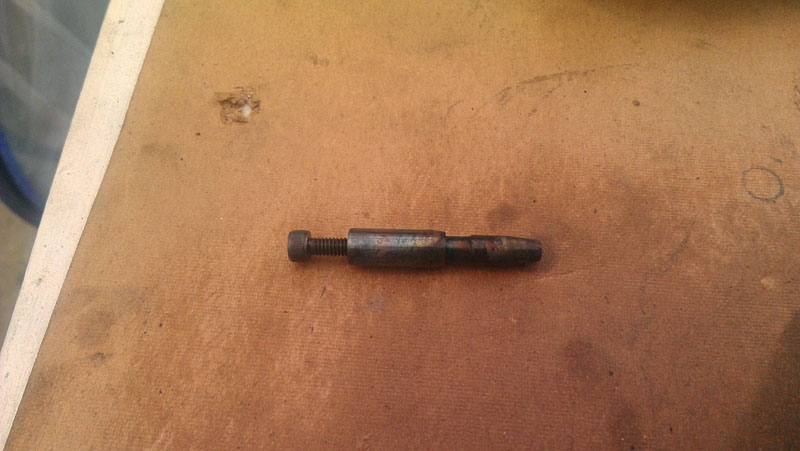
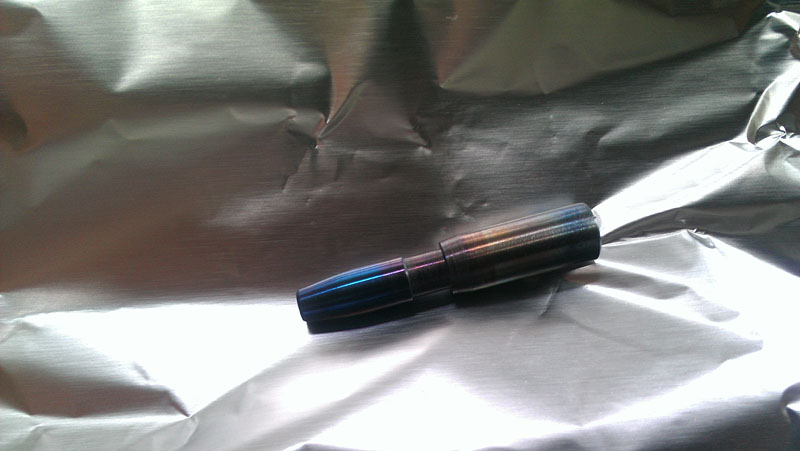
This is my first time I hardened and tempered anything and it all came out pretty darn nice and VERY easy to do. I needed a larger mandrel that was a few tenths bigger than what I had. I started with 5/16 oil hardening drill rod. Did all the machine work and polished the finished sized area. Took my propane torch with a "tornado" head on it using MAPP gas and heated the mandrel till it was no longer magnetic. Dipped it in a cup of oil to cool and then tempered at 400 degrees for an hour in a toaster oven. Out came out a cool looking hardened part. Now, have to try and see how well it works...

mandrel1.jpg

mandrel2.jpg

mandrel3.jpg

mandrel4.jpg
 
.

That should work, alot of effort though, I just use a standard hardened pin gauge kit in .001" increments to size necks to whatever preference.
 
That should work, alot of effort though, I just use a standard hardened pin gauge kit in .001" increments to size necks to whatever preference.

Really, not much effort. Took me just as long to clean up as it did making it. Quite easy. Not sure how I would attach a pin gauge to the K&M mandrel holder? I have $5 in a 36" oil hardening drill rod and can make a lot of mandrels with it...

How much did the size change from after machining to after heat treating?

Thanks.

I'm sure is changed some sort, but nothing measurable with my micrometer. Works perfect.


How did you check to see if it actually got hard?

Ran a file across the relief area.

Why did you draw it back at 400F?

To temper it. Probably should have turned the oven down a bit and left it in longer. It didn't temper evenly, but the sizing area is the color to look for.

Like I said, my first time and with the advice from the more experienced, I have an idea what I need to do and keep an eye on the next time.

Figure this might be helpful to others since there is always a need for a custom sized mandrel at one point or another. Every MFG that makes a 6mm mandrel, they all are different in diameter!
 
Last edited:
Looks good. I made a 30cal turning mandrel a few weeks ago. I have a hardening furnace tho same results
 
Really, not much effort. Took me just as long to clean up as it did making it. Quite easy. Not sure how I would attach a pin gauge to the K&M mandrel holder? I have $5 in a 36" oil hardening drill rod and can make a lot of mandrels with it...


I usually put the pin gauges in a lathe drill chuck tailstock and case/case holder in lathe spindle chuck, size by running tailstock to the spindle chuck.

Not sure that you need to even harden expander, you could probably size hundreds of thousands of brass necks on a steel mandrel before ever wearing the mandrel a measureable amount to affect anything.
 
Having used hardened and unhardened mandrels and dies I feel strongly that brass sizing equipment MUST be hardened.

Al
 
I usually put the pin gauges in a lathe drill chuck tailstock and case/case holder in lathe spindle chuck, size by running tailstock to the spindle chuck.

Not sure that you need to even harden expander, you could probably size hundreds of thousands of brass necks on a steel mandrel before ever wearing the mandrel a measureable amount to affect anything.

Now you are taking about getting into some serious work. Crank the tailstock quill in and out to expand 100 cases? Then when a tight one pulls the chuck out of the MT? LOL. I'll stick with the mandrel and a press.

As for hardening, why wouldn't you? It takes the abuse as a sizing die, maybe more with carbon caked inside of a fired neck. I've made a couple mandrels out of mild steel and the one is showing wear with a few hundred expanding strokes. It took me all of 5 minutes to harden and oil quench...then left it in the oven to temper while i did other things. No biggie.
 
I don't think I'd even bother tempering, why not leave it in it's full hard state? I recently made a neck bushing for a redding die out of O-1. After hardening and a quick polish in the lathe it works perfect. Don't see any reason to temper back any of the hardness. Even with a turning mandrel the side load can't be much if anything that would cause the brittleness to be a problem.
 
Somewhat OT

I have drill rod that I bought years ago. It comes in air, oil or water hardening. I know i have more than one kind, probably all three. How do I identify them? :confused:
 
I don't think I'd even bother tempering, why not leave it in it's full hard state? I recently made a neck bushing for a redding die out of O-1. After hardening and a quick polish in the lathe it works perfect. Don't see any reason to temper back any of the hardness. Even with a turning mandrel the side load can't be much if anything that would cause the brittleness to be a problem.

So its not so brittle. If it gets dropped or a case hits it at an angle from not being fully seated in a shell holder, it may snap easy. Not a big deal tempering.

I have drill rod that I bought years ago. It comes in air, oil or water hardening. I know i have more than one kind, probably all three. How do I identify them? :confused:

Not sure if you can. Mine are painted yellow on the end, but could be a specific mfg color. I'm sure the color is just to generalize its a drill rod.

Quench in oil, should still harden if not not O1. May not get as hard, but may work?
 
O-1 is typically painted yellow on the ends, not sure in the water hardening stuff, blue or green if I remember.
 
I'm sure it varies from one mfg to another. I found a pdf from a drill rod mfg and they color code as follows...

W1-Red
O1-Yellow
A2-Blue
 
Thank you DSM

Now to get to sorting them out. I had them in a box bundled with rubber bands which broke with age.
 
Back
Top